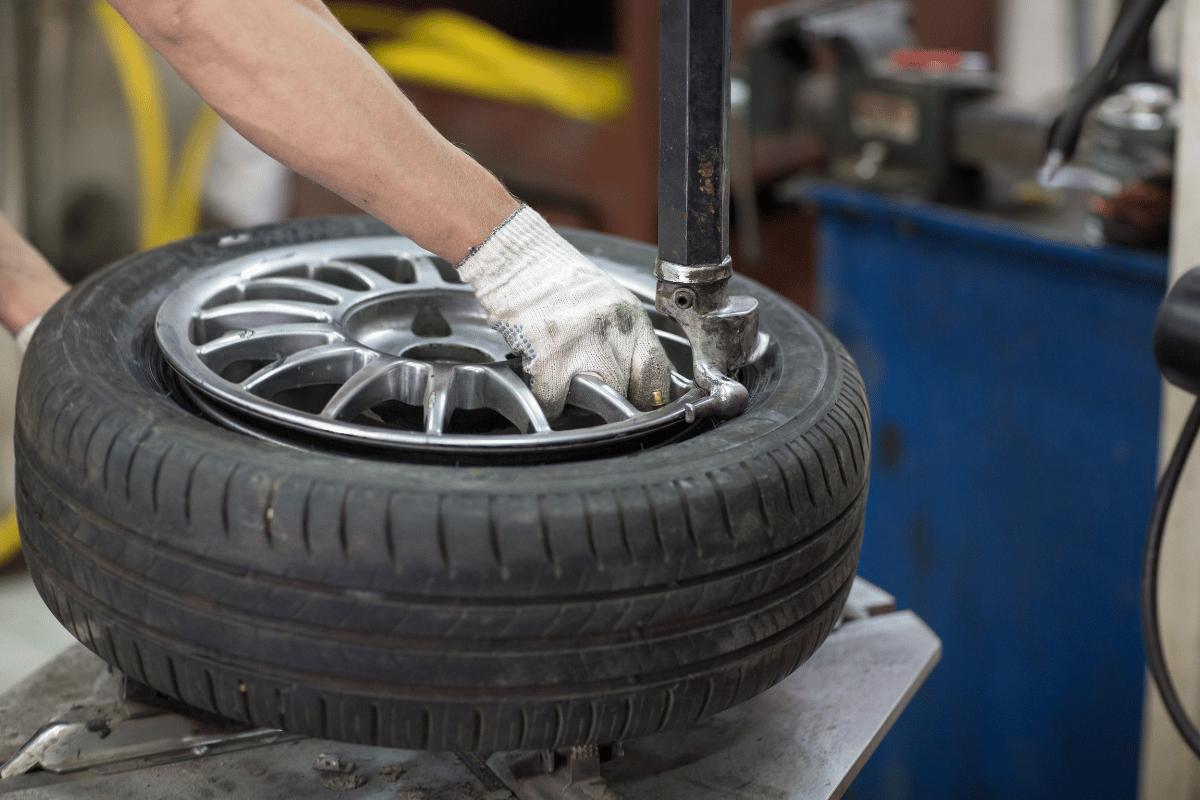
Tired of spending large sums of money at the auto repair shop when it comes time for tire changes? Investing in your own tyre changer machine might be the cost-efficient and effortless choice for you. With the appropriate know-how and safety steps, you’ll be able to quickly switch out your tires – saving you both time and money. This complete guide will teach you how to use a tyre changer machine proficiently. Whether you’re a veteran mechanic or a hands-on hobbyist, this guide will demonstrate to you the art of tire changing with ease.
Tyre changers are necessary for automobile owners. These mechanisms grant one the ability to take off worn or broken tires from their wheels and exchange them with new ones. Although the operation may appear overwhelming initially, with the proper hardware and instruction, it becomes a straightforward job. Here is a step-by-step outline of how to manipulate a tyre changer contraption:
Safety Precautions Before Using a Tyre Changer
Prior to commencing the procedure of tire-changing, one’s safety must always be prioritized. Several vital preventative steps should be taken into account to guarantee safety:
- Safety Gear: Don appropriate protective equipment, including eye protection, work gloves, and auditory shielding. Switching tires can chuck out shards and can become quite noisy, consequently, you must take precautions.
- Read the Manual: Familiarize yourself with the user manual associated with your exact tire changer machine. Each model may come equipped with distinct features and guidance. To guarantee optimal functionality, it is important to become familiar with these specifics.
- Proper Ventilation: If you are in a confined area, make sure you provide enough ventilation to dissipate any toxic vapors coming from tire lubricants.
- Secure the Machine: Guarantee that the tire changer is firm and securely fastened to the ground. Unbalanced machines may result in mishaps.
- Inspect Tools: Confirm that all tools and machines are in a healthy state and properly taken care of.
Preparing the Tyre Changer and Work Area
Now that you’ve taken safety precautions, it’s time to set up your work area and the tire changer:
- Location: Choose a spacious, illuminated, and pristine work area. Ensure that there is ample room to move around the device.
- Machine Inspection: Prior to utilizing the tire changer, perform a thorough assessment for any indications of harm or components that may be loose. Resolve any difficulties before commencing.
- Secure the Tires: To ensure your vehicle remains stationary, make sure to utilize wheel chocks and secure the parking brake. This will ensure you uphold safety regulations and allow you to enjoy peace of mind when left unattended.
Removing the Damaged Tire from the Rim
Here’s how to remove a damaged tire from the rim using a tyre changer:
- Demount the Tire: Set the tire on the machine’s rotary stand and secure it with clamps or bead breakers. Switch on the bead breaker to loosen the tire from the wheel rim.
- Remove the Beads: Employ the apparatus’ arm to raise the tire’s beads beyond the wheel rim. Exercise caution to abstain from harming the border or tire in the course of this undertaking.
- Detaching the Tire: Turn the wheel to unscrew the whole tire from the rim. Exercise caution and patience to avoid any harm.
Mounting a New Tire onto the Rim
It’s time to mount a new tire now that the damaged one has been properly removed:
- Clean and Lubricate: To make installation tires easier, clean the rim and lubricate them appropriately. Lubrication lowers friction, which facilitates the tire’s attachment to the rim.
- Position the Tire: Install the new tire on the rim, making that the bead is appropriately positioned relative to the edge of the rim.
- Use Mounting Tools: Use the mounting arm of the machine to help the tire slide over the rim.
- To prevent harming the tire, go slowly and steadily.
- Inflate Slightly: To guarantee good seating, slightly inflate the tire. By doing this, you can avoid having the tire come off during the last inflation.
Proper Tire Inflation and Seating
Correct tire inflation is essential for performance and safety:
- Set the Pressure: Create Pressure The recommended tire pressure for your vehicle may be found in the owner’s handbook or on the tire manufacturer’s website.
- Inflate Gradually: To fill the tire gradually, employ the use of an air compressor. As you pump up the tire, scour for any sign of deviance or flawed positioning.
- Check for Bead Seating: Ensure both segments of the tire are positioned correctly on the rim by confirming appropriate bead seating. If one side appears more elevated than the other, deflate the tire and reinstall it.
Balancing the Wheel and Tire Assembly
Balancing ensures a smooth and vibration-free ride:
- Mount on Balancer: Fit the wheel and tire assembly onto a tire balancer securely. Ensure it is secured firmly in place.
- Enter Data: Input the necessary data, such as the wheel size and type of weights, into the balancer machine.
- Balance the Wheel: Activate the balancer, and it will identify any imbalances in heftiness. Add or take away masses as directed until the wheel is suitably balanced.
Inspecting for Proper Installation
After changing the tires, thoroughly inspect the vehicle:
- Visual inspection: Look for signs of damage or misalignment on the tire, rim, and wheel assembly.
- Tighten All Nuts: Tighten all nuts and bolts on the wheel and tire assembly according to the manufacturer’s specifications.
- Check Tire Pressure: Ensure that the tire is inflated to the vehicle’s recommended pressure.


